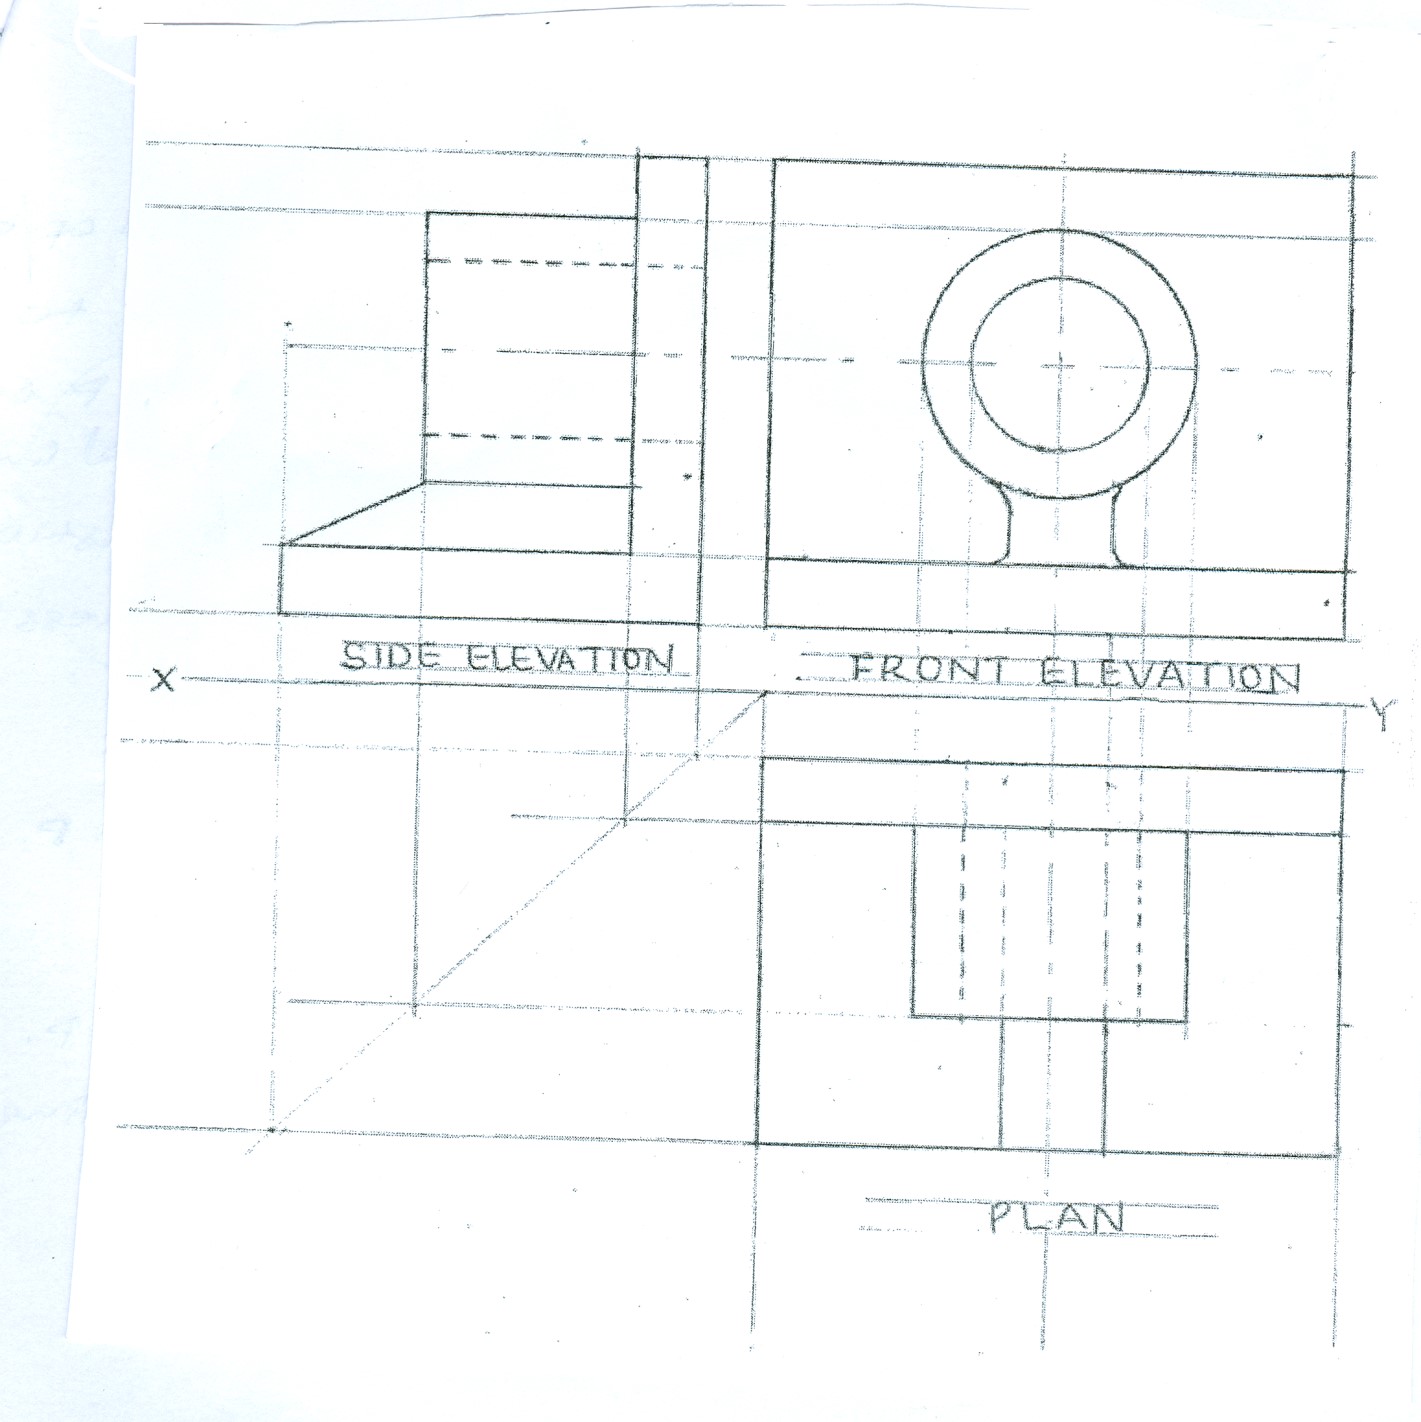
This was a question on reading and interpreting a drawing in isometric projection and transferring this drawing into orthographic views.
Many candidates attempted this question and candidates strength were shown in the following areas:
- good use of lines and instruments;
- drawing the front elevation;
- drawing the plan and end elevation.
However, some of the candidates were unable to:
- draw the centerlines;
- draw the projection lines;
- draw hidden lines;
- position the views correctly;
- label the views.
Candidates were expected to do the following:
ORTHOGRAPHIC PROJECTION OF THE BLOCK
- draw four vertical lines;
- draw three horizontal lines;
- draws two centre lines;
- draw two circles;
- label front elevation.
- draw six vertical lines (outlines);
- draw four hidden lines;
- draw four horizontal lines;
- draw one centre line;
- label plan.
- draw four vertical lines;
- draw five horizontal lines;
- draw one slant line;
- draw one centre line;
- label side elevation.
D. (i) using correct scale (size);
(ii) correct position of views.
The solution is shown below:


